Saturday, November 13, 2010

Halloween Lanterns

I know that it is the middle of November, but I haven't been able to post this until now.  During October we love to decorate the house, and one of our decorations are made from cans from canned food.  Here is what you do.
  1. You get your can, it doesn't matter what size, but if you want to punch a bigger pattern into it don't use a super small one.
  2. Before you punch holes into your can fill it with water all the way to the to and freeze it, this makes it so when you punch the pattern into it it does not bang up the can in the process.
  3. Get a nail and a hammer, and start punching.  You can do ghosts, Jack-o-Lanterns, cats or anything that you would like.  You should also punch around the top and bottom of the can.
  4. Get some wire,  it can be any kind, just not too flimsy, and wrap it around a pencil to make it curly.  you attach the wire to two of the holes around the top of your can so that it makes a handle for hanging.
  5. Spray paint it, we usually do our orange, but you can do it whatever color.
  6. Put it on display and stick a candle in it.


This would also be the perfect thing to do for any holiday or occasion.  You could make snowflakes for Christmas or anything. 

    Sunday, October 17, 2010

    Boo Blocks

    This is a really easy craft project to do, you can do it in very little time and the result is total cuteness.  What you will need is:
    1. Wooden blocks, you can get these at your local craft store (we got lucky and found ours at the D.I.)
    2. Modge Podge
    3. Scrapbook Paper
    4. Sandpaper
    5. Stencils
    Okay, so once you have your wooden blocks you outline the square shape onto your scrapbook paper six times, I did all six sides with different paper, but you can do yours whatever you like.  Then once you have all your shapes ready to go you pop out the modge podge.  You figure out where you are going to put the paper and you glue it down.  You repeat this three times until all three of your blocks are covered with your scrapbook paper.

    Once you have that done you may have noticed that the edges on you blocks aren't perfect, that is fine, just grab some sandpaper and ruff it up on the edges so if the paper is out of place, it won't matter.  If you got your blocks perfect and you don't want to distress the edges that is fine, just skip this step.

    Then we bring out the stencils.  You will need a solid color for this one if you want your letters to pop out, I just used some stencils that we had around the house, but you could even get craftier and use some font off of the computer.  Unfortunately we are out of ink, so I did it the old fashioned way.  Then you modge podge those onto your blocks where you want, play around with it and see how you like it best.  You can tilt the letters or just have them all straight.  I am sorry I forgot to do before pictures but here are my afters.


    Saturday, August 21, 2010

    Jewelry Frames

    If you liked the post about our chalkboard frames you are going to love this.  It is very simple and easy, and you don't need a lot of stuff to do it.  Here are the supplies that you need for this project.
    1. Picture Frame
    2. Chicken Wire
    3. Spray Paint
    Once you have got your frame all primed and spray painted your final color you get your chicken wire and you cut it out to the size of the hole inside of the frame, cut it a little bit bigger than that so that you can staple it in.  You may need a guy or someone to do this for you that knows how to work the staple gun.  You staple it in and then you have your jewelry frame.  Here are a couple that we did,  they are a lot like the chalkboard frames that we have done.


    We took them to a local farmer's market to try our luck at selling them, hopefully we will!  If you want the tutorial on how to make the Flower Tutorial click the link and it will take you to the video that shows you how to make the flowers.

    Friday, August 13, 2010

    Locker Wallpaper

    It is Back-to-School, that means shopping for clothes, and supplies for school, but when you go shopping do not forget one of the most important things that most of us need: Locker decoration!  We were shopping at Shopko and we were looking down the school supplies row when we saw this package of patterned paper that said "Magnetic Dr-Erase Wallpaper" I could not believe it.  It is the perfect thing if you are looking for an easy and cute way to decorate your locker.  I have tried it where I had to tape scrapbook paper onto the locker or use magnets to hold it up, and neither is a very good way to do it, so when I saw this I had to buy it and see if it really worked, we also bought some dry-erase markers.


    This is the perfect thing to use if you decorate your locker, it sticks to most metal and does not fall off easily! Comes in all kinds of fun patterns, I cannot wait to use this in my locker.

    Tuesday, July 13, 2010

    Jar of Fabric

    Are you the kind of person who has a bunch of scraps from fabric that you just don't know what to do with or where to put it?  Or are you looking for a gift for a friend who likes to sew but can't think of what to get them?  I was at a local craft store the other day looking for a gift, and we spotted a glass gar with some fat quarters inside, it looked so cute.  We had some of those same jars at home so we decided to buy some fat quarters from the shop and go home and make our own, the perfect gift.  here is the before of the jar.


    the we put the different patterned pieces of fabric and stuffed them inside so that they lined the edges of the jar.  Then we tied a ribbon around the top.  here is the result.


    This is a perfect way to store your left over fabric, and make it cute at the same time! 

    Tuesday, June 29, 2010

    Before and After

    Have you ever bought one of those metal pinwheels that you think will be cute to decorate the yard with and then when you bring it home you look around and realize that it doesn't look good anywhere in the yard.  What are you going to do?  You usually end up storing it in the dusty corners of the basement until the next year you see it and wonder if you can do anything with it.  We did that once and we have found the solution to making that misfit pinwheel become a cute yard decoration.  Here are the before pictures, as you can see this one does not have the center.


    As you can see it was okay, but not a super cute thing to put in your yard, so what did we do?  We got out a spray paint can!  We spray painted the petals of the flower white like a daisy and the center of the flower yellow (the one above is missing its center) and the stem green.  Here is what it looks like now.


    Thursday, June 17, 2010

    Cake Pin Cushion

    First off, let me apologize for taking so long to create a new post, I had so many different projects that I am working on finishing, and all of them had to have a few finishing touches put to them.  Anyway, this is a really cute project that any sewer will love.  I found this project on the DIY Dish.  The DIY Dish has a lot of cute ideas which I will hopefully be trying and showing you also how to do some of the cute crafts that I have seen.  Anyway, our project today is super simple and easy.  Here are the things that you will need for this:
    1. 4 sheets of felt (any color you like)
    2. Hot Glue Gun
    3. Ruler
    4. Embellishments
    5. Magnets
    As you can see from this short list of all of the things that you need that this craft is very simple and does not take very much time.  It is also the perfect gift for any sewer out there.  What you do first is you get your felt sheets and I had four different colors, you don't have to have that many, but I suggest that you have at least two different colors for this particular project.  Once you have them you measure eight strips of 2 1/2 inches by 12 inches.  You also need to measure out four strips of 1 /12 inches by 12 inches.  You may need the ruler to also make sure that when you cut them out you cut them out straight, they don't have to be absolutely perfect, but we don't want any super crooked lines.

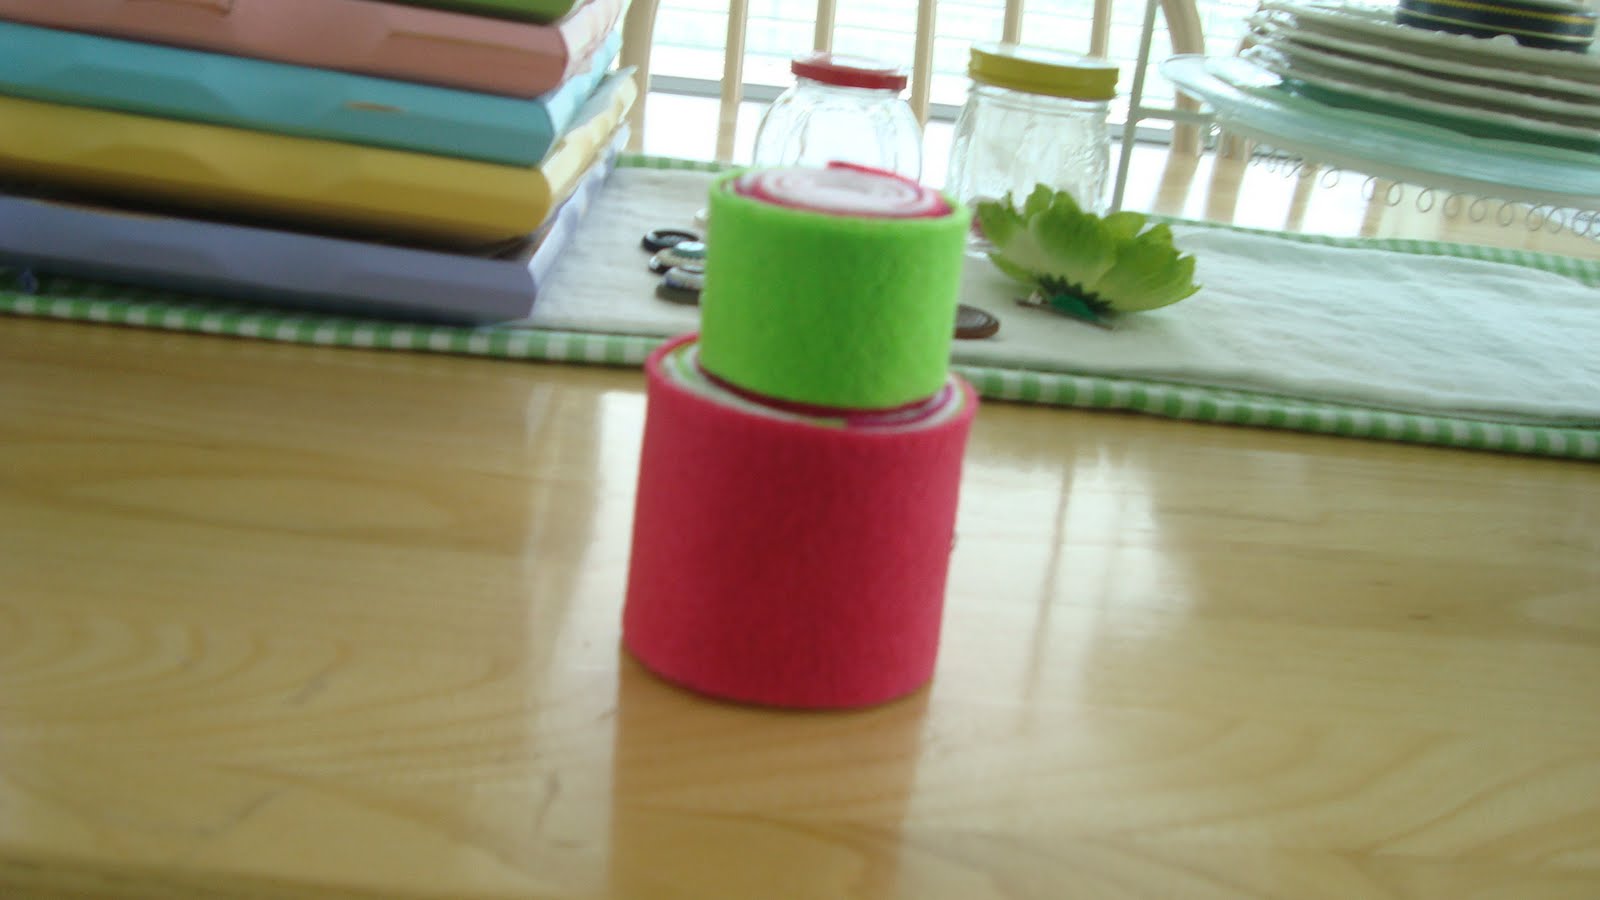
    Now we are going to start to make the bottom part of our pin cushion, what you do first is you take two of your bigger strips of felt, put one on top of the other and you start rolling.  When you come to the end of those two strips you simply put down another one of the felt strips and continue rolling.  Make sure that the last piece of felt you roll is the color that you want on the outside of your pin cushion.  Now you just repeat what you just did with your four smaller strips of felt.


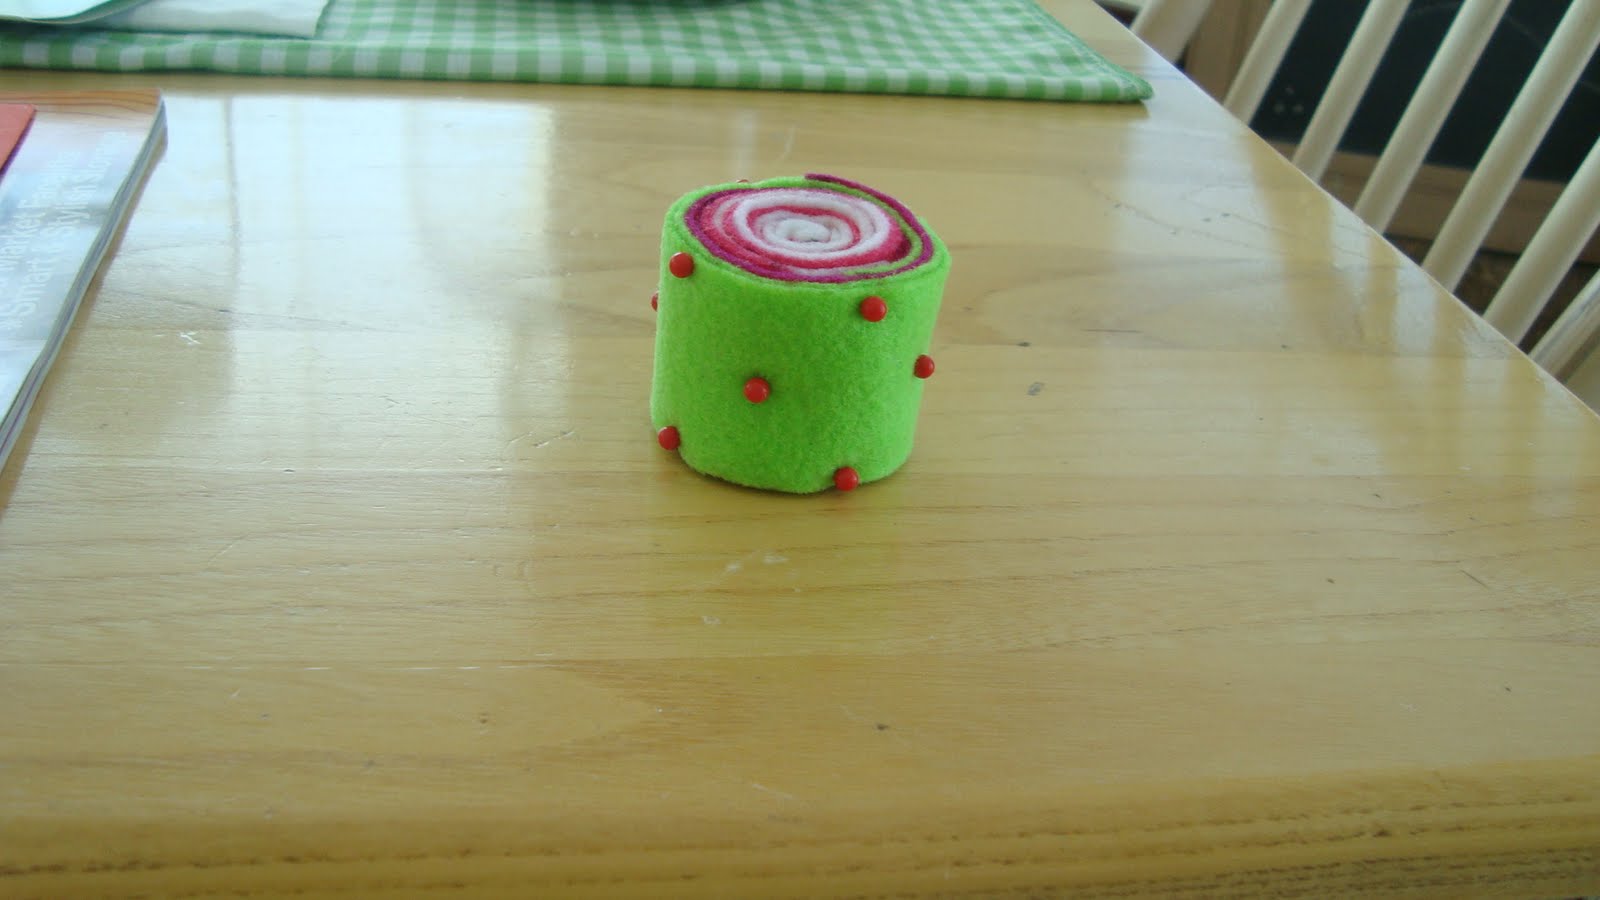
    We are not finished yet.  You can also decorate these 'cakes' with just about anything: rick-rack, beads, flowers, ribbons, buttons, pom-pom trim, just about anything that you can think of.  What I did though is I took the outermost layer of felt on both after they had been glued on with hot glue (you just take the edge that is left and put a line of hot glue across and press down) I decided that I was going to decorate mine with pins.  Here is what my pin cushion looked like.


    Now there is one last thing that you can do with your pin cushion.  You know how when you are sewing and you reach to stick the pin into the cushion and it slides away, and then you can't reach it.  That has happened to me about a million times but, we have found a solution for that problem, this is where the magnets come in.  We are going to glue magnets onto the bottom of each layer of the pin cushion.  This will make it so that you can stick this pin cushion on to your sewing machine!  Very handy and cute.


    what you do is you get your glue gun and you just glue it to the bottom of both layers and on the top of the biggest layer if you want both of them to stick together.  You may want to push them in if you got the magnets that I did, so they don't show when the whole thing is through.  There you have it, a cute fun cake pin cushion.  I will try on my next post to show you the pins that you can make to go with you cute 'cake' creation.  Now remember that you can also find another tutorial for this project just by clicking the link Pin Cushion Tutorial.  Have fun sewing!

    Tuesday, May 4, 2010

    Pillowcase Bag

    This bag is a really cute and very simple thing to make.  It did not take me very long and I think that it is a lot of fun and very easy, anybody can do this, I got this idea from Martha Stewart at Pillowcase Bag.  First of all, what you need is a pillowcase.  If you do not want to give up one of your pillowcases you can easily go buy one at the D.I. or a thrift store, just be sure to pick one that has a pattern on it that you will like because it will be on the outside of the bag.  Here is what you do.
    1. Trim 1/4 inch off the closed end.  So you take your pillowcase and trim it on the end that is sewn closed.
    2. Cut the case in half on the diagonal.  Once you have your end cut, you lay it out flat and cut diagonally from one corner to the other.
    3. Turn the fabric of each of the four diagonal cut edges over by 1/4 inch, twice; pin, and hem.  Now you take the edge that you have just cut, fold it and hem it.
    4. Place one pillowcase half inside the other, lining up bottom edges;  Sorry I do not have a picture, but you have your two triangles, take the shorter side and line them up at the bottom so one is inside the other.
    5. Pin, and sew at front where fabrics overlap. Repeat on other side.
    6. Turn fabric inside out, and hem case's cut bottom.
    7. Trim with pinking shears.  This is optional, I did not do this and it turned out fine, just trim it with fabric shears.
    8. Turn case right side out, tie top ends into a knot, and you have a carefree summer bag.
    If you are having troubles you can refer to this link where the pattern is Pillowcase Bag,  here is what my bag turned out like, I think that it is super cute and you can use it for just about anything.  A beach bag, a bag just to hold you things, either way now you have a really fun bag that you made by yourself with a pillowcase that you did not think could be used for anything.  Enjoy your new bag!


    Tuesday, April 27, 2010

    Gumball Machine

    Now, this is what we have been searching for forever!  We found it awhile ago but I am just getting caught up on all of my blog posts.  Anyway, the thing that we have been looking for, and the one thing I have really wanted is a gumball machine.  You see a gumball machine is the perfect thing to add character to a room.  So we found one at a yardsale for a steal, it only cost $1.00, we were very excited.  After we get it home and cleaned up we brak out the spray paint cans and started spraying.  This is a fairly simple project to do, you just spray paint the parts that you need to (the stand, machine, and top) and then fill it with candy.  I am very pleased with the final result, it is so cute!  I have not had a chance to buy candy to fill it up with yet, but here it is.


    Now if you want to see some more gumball machines follow these links.  Twice Remembered and Gumball Machines

    Tuesday, April 20, 2010

    Spring Break Fun

    So over spring break me and my family didn't really go anywhere this year, but I did get invited to go down to Willard Bay with my friends on Saturday, and let's just say we had a blast, here are some pictures that we took when we were there.