Are you the kind of person who has a bunch of scraps from fabric that you just don't know what to do with or where to put it? Or are you looking for a gift for a friend who likes to sew but can't think of what to get them? I was at a local craft store the other day looking for a gift, and we spotted a glass gar with some fat quarters inside, it looked so cute. We had some of those same jars at home so we decided to buy some fat quarters from the shop and go home and make our own, the perfect gift. here is the before of the jar.
the we put the different patterned pieces of fabric and stuffed them inside so that they lined the edges of the jar. Then we tied a ribbon around the top. here is the result.
This is a perfect way to store your left over fabric, and make it cute at the same time!
Tuesday, July 13, 2010
Tuesday, June 29, 2010
Before and After
Have you ever bought one of those metal pinwheels that you think will be cute to decorate the yard with and then when you bring it home you look around and realize that it doesn't look good anywhere in the yard. What are you going to do? You usually end up storing it in the dusty corners of the basement until the next year you see it and wonder if you can do anything with it. We did that once and we have found the solution to making that misfit pinwheel become a cute yard decoration. Here are the before pictures, as you can see this one does not have the center.

As you can see it was okay, but not a super cute thing to put in your yard, so what did we do? We got out a spray paint can! We spray painted the petals of the flower white like a daisy and the center of the flower yellow (the one above is missing its center) and the stem green. Here is what it looks like now.
Thursday, June 17, 2010
Cake Pin Cushion
First off, let me apologize for taking so long to create a new post, I had so many different projects that I am working on finishing, and all of them had to have a few finishing touches put to them. Anyway, this is a really cute project that any sewer will love. I found this project on the DIY Dish. The DIY Dish has a lot of cute ideas which I will hopefully be trying and showing you also how to do some of the cute crafts that I have seen. Anyway, our project today is super simple and easy. Here are the things that you will need for this:
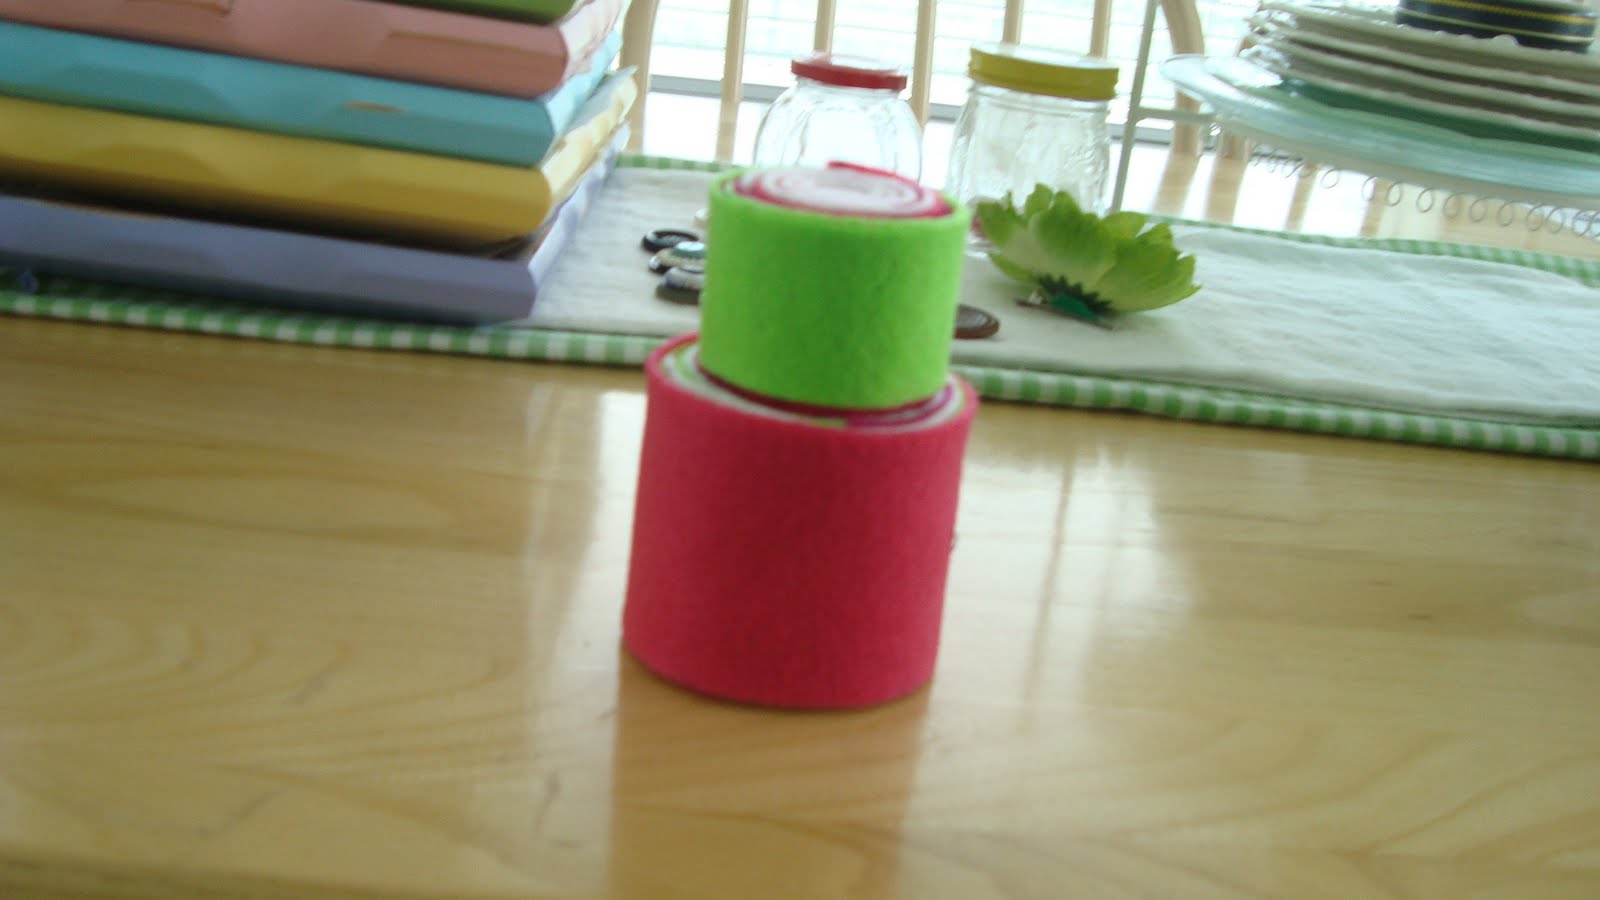
Now we are going to start to make the bottom part of our pin cushion, what you do first is you take two of your bigger strips of felt, put one on top of the other and you start rolling. When you come to the end of those two strips you simply put down another one of the felt strips and continue rolling. Make sure that the last piece of felt you roll is the color that you want on the outside of your pin cushion. Now you just repeat what you just did with your four smaller strips of felt.
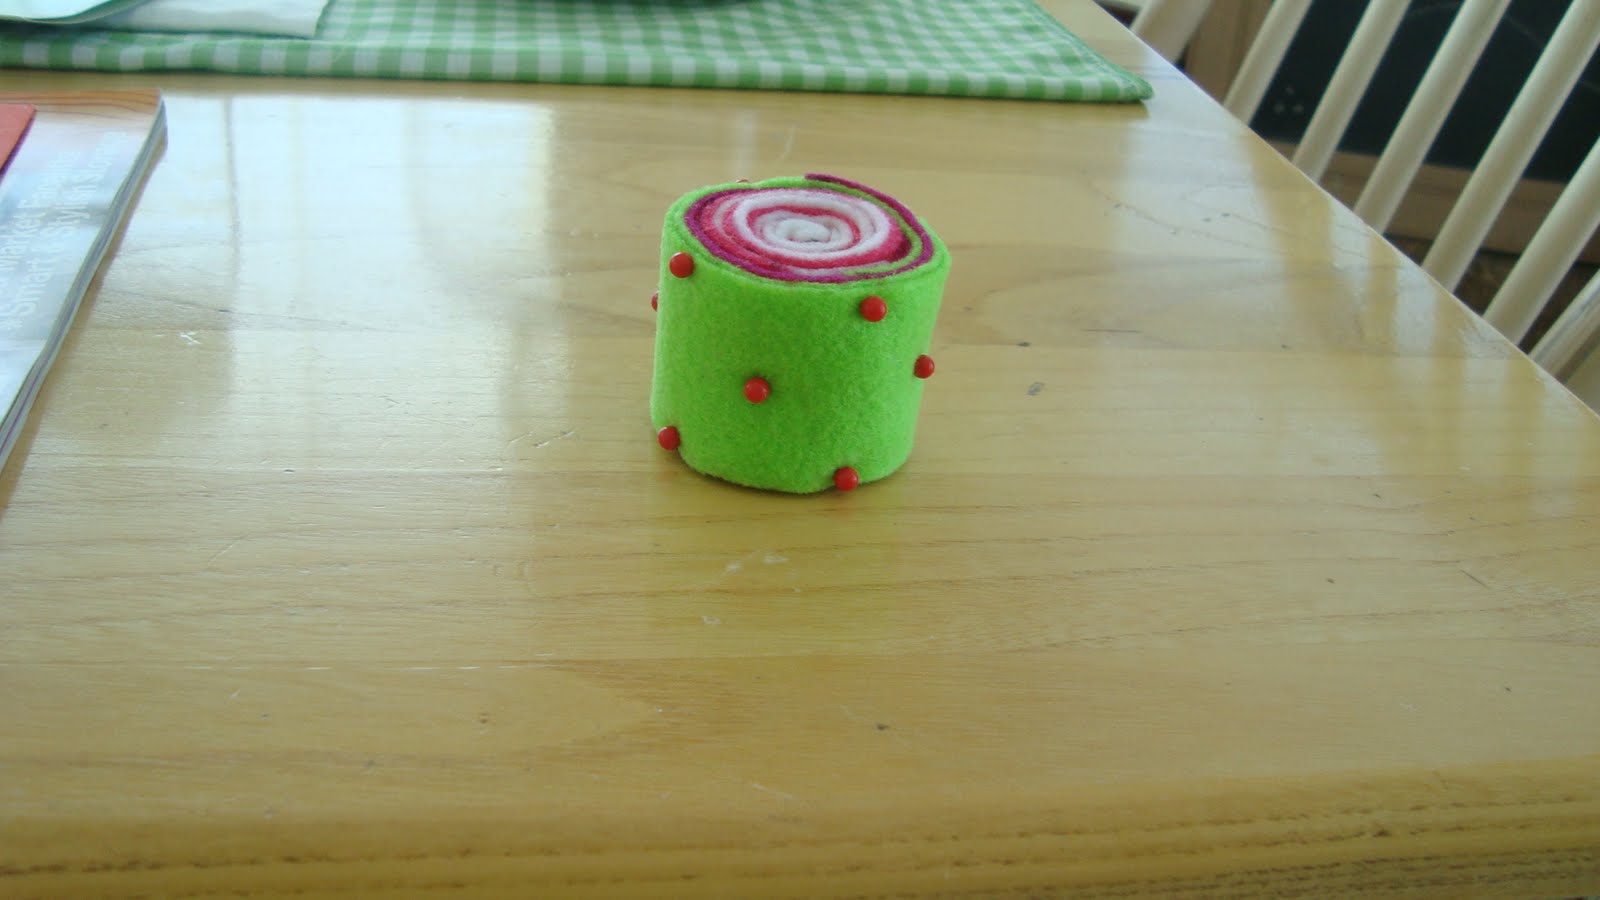
We are not finished yet. You can also decorate these 'cakes' with just about anything: rick-rack, beads, flowers, ribbons, buttons, pom-pom trim, just about anything that you can think of. What I did though is I took the outermost layer of felt on both after they had been glued on with hot glue (you just take the edge that is left and put a line of hot glue across and press down) I decided that I was going to decorate mine with pins. Here is what my pin cushion looked like.
Now there is one last thing that you can do with your pin cushion. You know how when you are sewing and you reach to stick the pin into the cushion and it slides away, and then you can't reach it. That has happened to me about a million times but, we have found a solution for that problem, this is where the magnets come in. We are going to glue magnets onto the bottom of each layer of the pin cushion. This will make it so that you can stick this pin cushion on to your sewing machine! Very handy and cute.
- 4 sheets of felt (any color you like)
- Hot Glue Gun
- Ruler
- Embellishments
- Magnets
Now we are going to start to make the bottom part of our pin cushion, what you do first is you take two of your bigger strips of felt, put one on top of the other and you start rolling. When you come to the end of those two strips you simply put down another one of the felt strips and continue rolling. Make sure that the last piece of felt you roll is the color that you want on the outside of your pin cushion. Now you just repeat what you just did with your four smaller strips of felt.
We are not finished yet. You can also decorate these 'cakes' with just about anything: rick-rack, beads, flowers, ribbons, buttons, pom-pom trim, just about anything that you can think of. What I did though is I took the outermost layer of felt on both after they had been glued on with hot glue (you just take the edge that is left and put a line of hot glue across and press down) I decided that I was going to decorate mine with pins. Here is what my pin cushion looked like.
Now there is one last thing that you can do with your pin cushion. You know how when you are sewing and you reach to stick the pin into the cushion and it slides away, and then you can't reach it. That has happened to me about a million times but, we have found a solution for that problem, this is where the magnets come in. We are going to glue magnets onto the bottom of each layer of the pin cushion. This will make it so that you can stick this pin cushion on to your sewing machine! Very handy and cute.
what you do is you get your glue gun and you just glue it to the bottom of both layers and on the top of the biggest layer if you want both of them to stick together. You may want to push them in if you got the magnets that I did, so they don't show when the whole thing is through. There you have it, a cute fun cake pin cushion. I will try on my next post to show you the pins that you can make to go with you cute 'cake' creation. Now remember that you can also find another tutorial for this project just by clicking the link Pin Cushion Tutorial. Have fun sewing!
Tuesday, May 4, 2010
Pillowcase Bag
This bag is a really cute and very simple thing to make. It did not take me very long and I think that it is a lot of fun and very easy, anybody can do this, I got this idea from Martha Stewart at Pillowcase Bag. First of all, what you need is a pillowcase. If you do not want to give up one of your pillowcases you can easily go buy one at the D.I. or a thrift store, just be sure to pick one that has a pattern on it that you will like because it will be on the outside of the bag. Here is what you do.
- Trim 1/4 inch off the closed end. So you take your pillowcase and trim it on the end that is sewn closed.
- Cut the case in half on the diagonal. Once you have your end cut, you lay it out flat and cut diagonally from one corner to the other.
- Turn the fabric of each of the four diagonal cut edges over by 1/4 inch, twice; pin, and hem. Now you take the edge that you have just cut, fold it and hem it.
- Place one pillowcase half inside the other, lining up bottom edges; Sorry I do not have a picture, but you have your two triangles, take the shorter side and line them up at the bottom so one is inside the other.
- Pin, and sew at front where fabrics overlap. Repeat on other side.
- Turn fabric inside out, and hem case's cut bottom.
- Trim with pinking shears. This is optional, I did not do this and it turned out fine, just trim it with fabric shears.
- Turn case right side out, tie top ends into a knot, and you have a carefree summer bag.
Tuesday, April 27, 2010
Gumball Machine
Now, this is what we have been searching for forever! We found it awhile ago but I am just getting caught up on all of my blog posts. Anyway, the thing that we have been looking for, and the one thing I have really wanted is a gumball machine. You see a gumball machine is the perfect thing to add character to a room. So we found one at a yardsale for a steal, it only cost $1.00, we were very excited. After we get it home and cleaned up we brak out the spray paint cans and started spraying. This is a fairly simple project to do, you just spray paint the parts that you need to (the stand, machine, and top) and then fill it with candy. I am very pleased with the final result, it is so cute! I have not had a chance to buy candy to fill it up with yet, but here it is.
Now if you want to see some more gumball machines follow these links. Twice Remembered and Gumball Machines
Tuesday, April 20, 2010
Spring Break Fun
So over spring break me and my family didn't really go anywhere this year, but I did get invited to go down to Willard Bay with my friends on Saturday, and let's just say we had a blast, here are some pictures that we took when we were there.
Friday, April 16, 2010
Framed Chalkboards
Okay, so you know when you are working on a project and it just seems to drag on and on and on? I do, we have been working on these chalkboards for what seems like forever, but we finally got them done! I am so excited. Let me tell you how we made them first. You will need the following things.
After you have it all spray painted you can start on the next step which is making the chalkboard. Now when you buy your picture frame it might come with glass that already fits in it. You can use this as the chalkboard or you can cut some plywood the the size that you need. I would recommend that you use the plywood so that the chalkboard won't break when you press down on it too hard. So you go and get your chalkboard spray paint from Home Depot and you just follow the directions on the back and spray it onto the glass or plywood. Spray a couple coats onto it and let it dry. After that you prime the chalkboard by getting a white piece of chalk and turning it so it is on its side and gently rubbing the chalkboard, do this until the whole chalkboard is covered. Then you simply wipe it off and you are ready to go. Here are our chalkboard that we made out of glass.
Now after you are done with the chalkboard part you can just slip them into your frame. Here is the part where it is optional. We put scrapbook paper on the back of our chalkboards by modge podging them onto a thin slice of cardboard. Your frame might come with it or you can cut some out of a cereal box. You modge podge it on and slip it in after the chalkboard. Now you have a beautiful chalkboard that can be used for anything and can be hung everywhere. Here are ours.
- Picture Frame (it can be any size you want depending on how big you want the chalkboard to be.)
- Glass or Plywood (we used glass but you might want to use plywood so you don't have to worry about breaking it.)
- Spray Paint (any color)
- White Primer Spray Paint
- Chalkboard Spray Paint (you can find this at your home depot)
- Scrapbook Paper *optional
After you have it all spray painted you can start on the next step which is making the chalkboard. Now when you buy your picture frame it might come with glass that already fits in it. You can use this as the chalkboard or you can cut some plywood the the size that you need. I would recommend that you use the plywood so that the chalkboard won't break when you press down on it too hard. So you go and get your chalkboard spray paint from Home Depot and you just follow the directions on the back and spray it onto the glass or plywood. Spray a couple coats onto it and let it dry. After that you prime the chalkboard by getting a white piece of chalk and turning it so it is on its side and gently rubbing the chalkboard, do this until the whole chalkboard is covered. Then you simply wipe it off and you are ready to go. Here are our chalkboard that we made out of glass.
Now after you are done with the chalkboard part you can just slip them into your frame. Here is the part where it is optional. We put scrapbook paper on the back of our chalkboards by modge podging them onto a thin slice of cardboard. Your frame might come with it or you can cut some out of a cereal box. You modge podge it on and slip it in after the chalkboard. Now you have a beautiful chalkboard that can be used for anything and can be hung everywhere. Here are ours.
Subscribe to:
Posts (Atom)